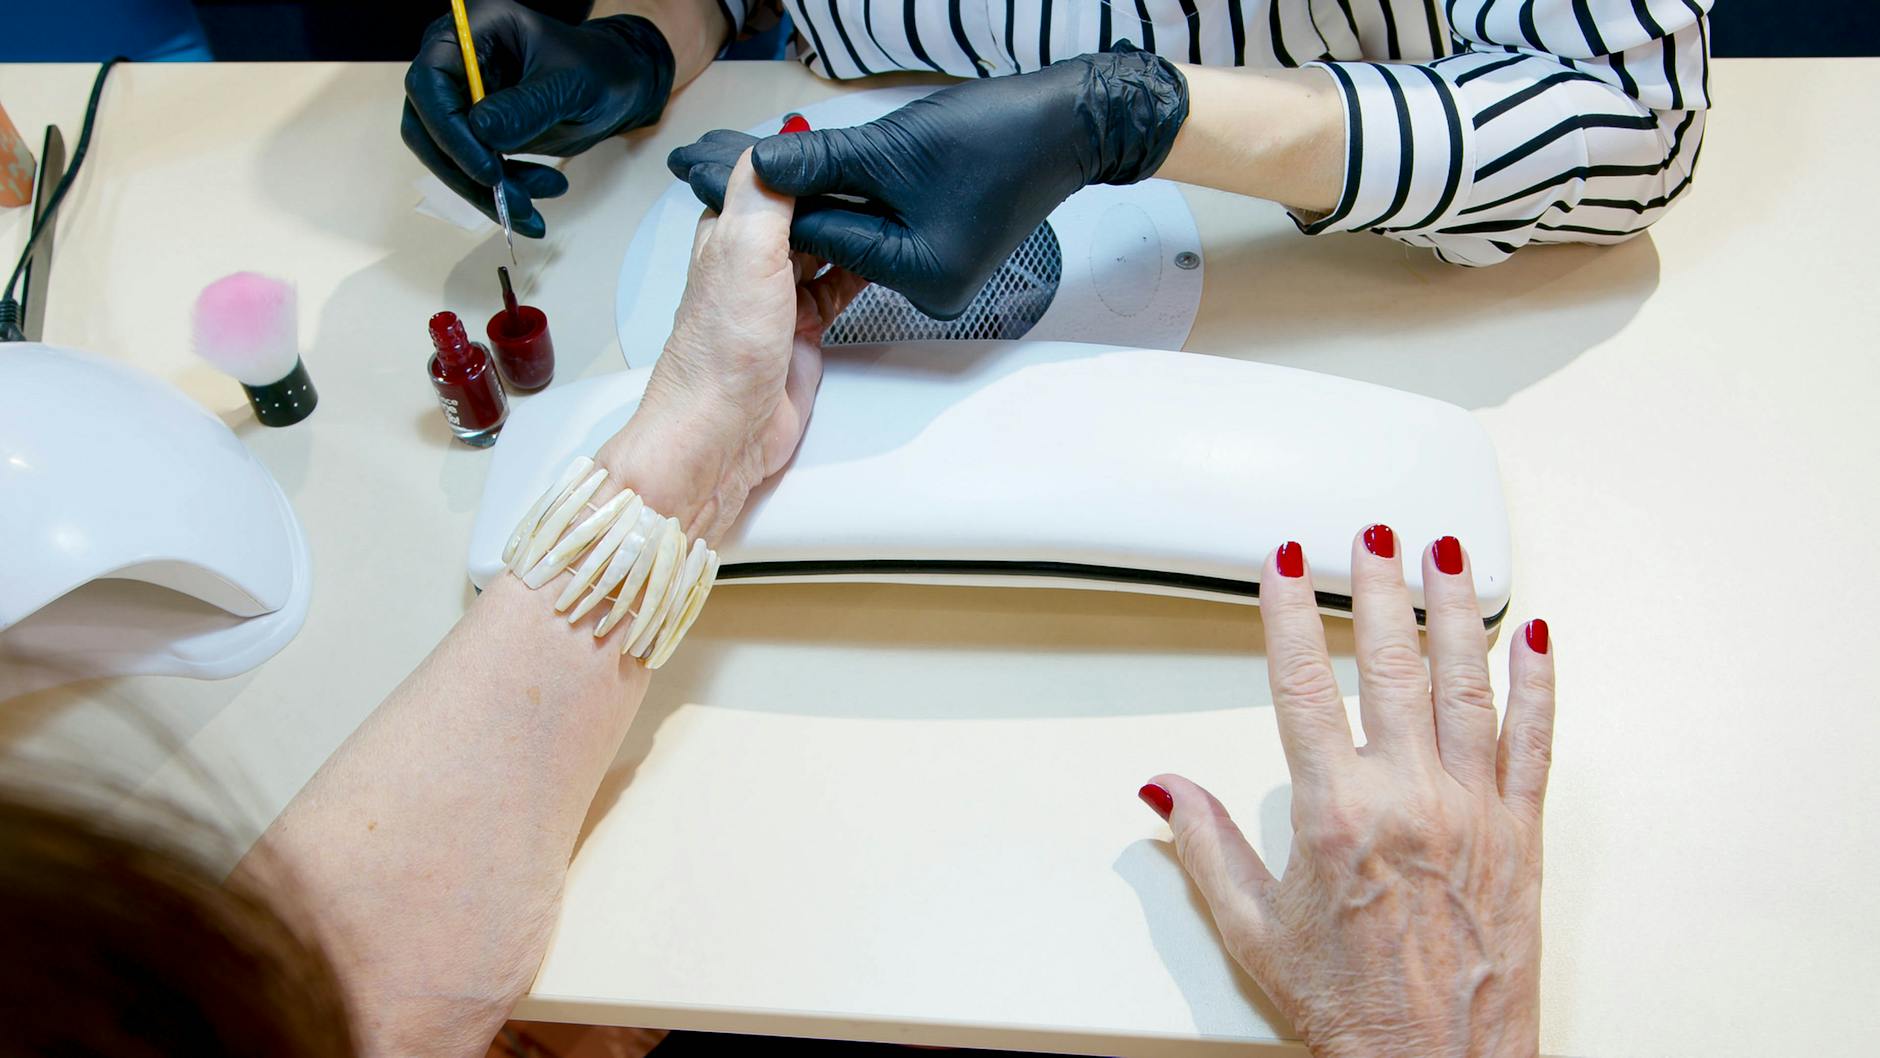
Gel manicures are designed to stay put. That’s the whole point. Removing one at home is doable, but the failure mode is ugly: thinned nails, peeling layers, weeks of recovery before the next service looks right. The fix is the same method we use at the salon. Acetone, foil, time, and a light hand.
Here’s the technique our technicians at Dream Spa use, plus the cases where you should put down the cotton balls and book a soak-off appointment instead.
When to Remove Gel at Home (and When Not To)
A home soak-off works fine if all of these are true:
- The polish has already started lifting at the edges, or you’re past your three-week wear window.
- Your natural nail underneath looks healthy. No cracks, splits, or sore spots.
- You can set aside 45 minutes of uninterrupted time. Rushing this is how nails get damaged.
- You have actual acetone, not “non-acetone polish remover.” Non-acetone will not break down gel.
Skip the DIY and come in if any of these apply:
- You have an extension system on top of the gel polish, like Aprés Gel-X®, hard gel, acrylic, or dip powder. Those need a different removal process and home attempts almost always damage the nail bed.
- The gel is barely lifting and feels firmly attached. That’s a sign it isn’t ready to come off, and forcing it will tear the top layer of your nail.
- You see redness, swelling, or any sign of infection around the cuticle.
- Your nails already feel thin or peeling from previous removals.
If you’re in the second list, just book a removal with one of our technicians and let us handle it. Twenty minutes in the chair beats two months of nail recovery.
What You’ll Need
Lay everything out before you start. Stopping mid-process to hunt for foil is what turns a clean removal into a rough one.
- 100% acetone. Pure acetone, not the diluted version sold for general polish removal. Beauty supply stores have it.
- Cotton balls or pads. Cotton pads cut in half work better than cotton balls because they sit flatter against the nail.
- Aluminum foil. Cut into ten squares roughly 3×3 inches each.
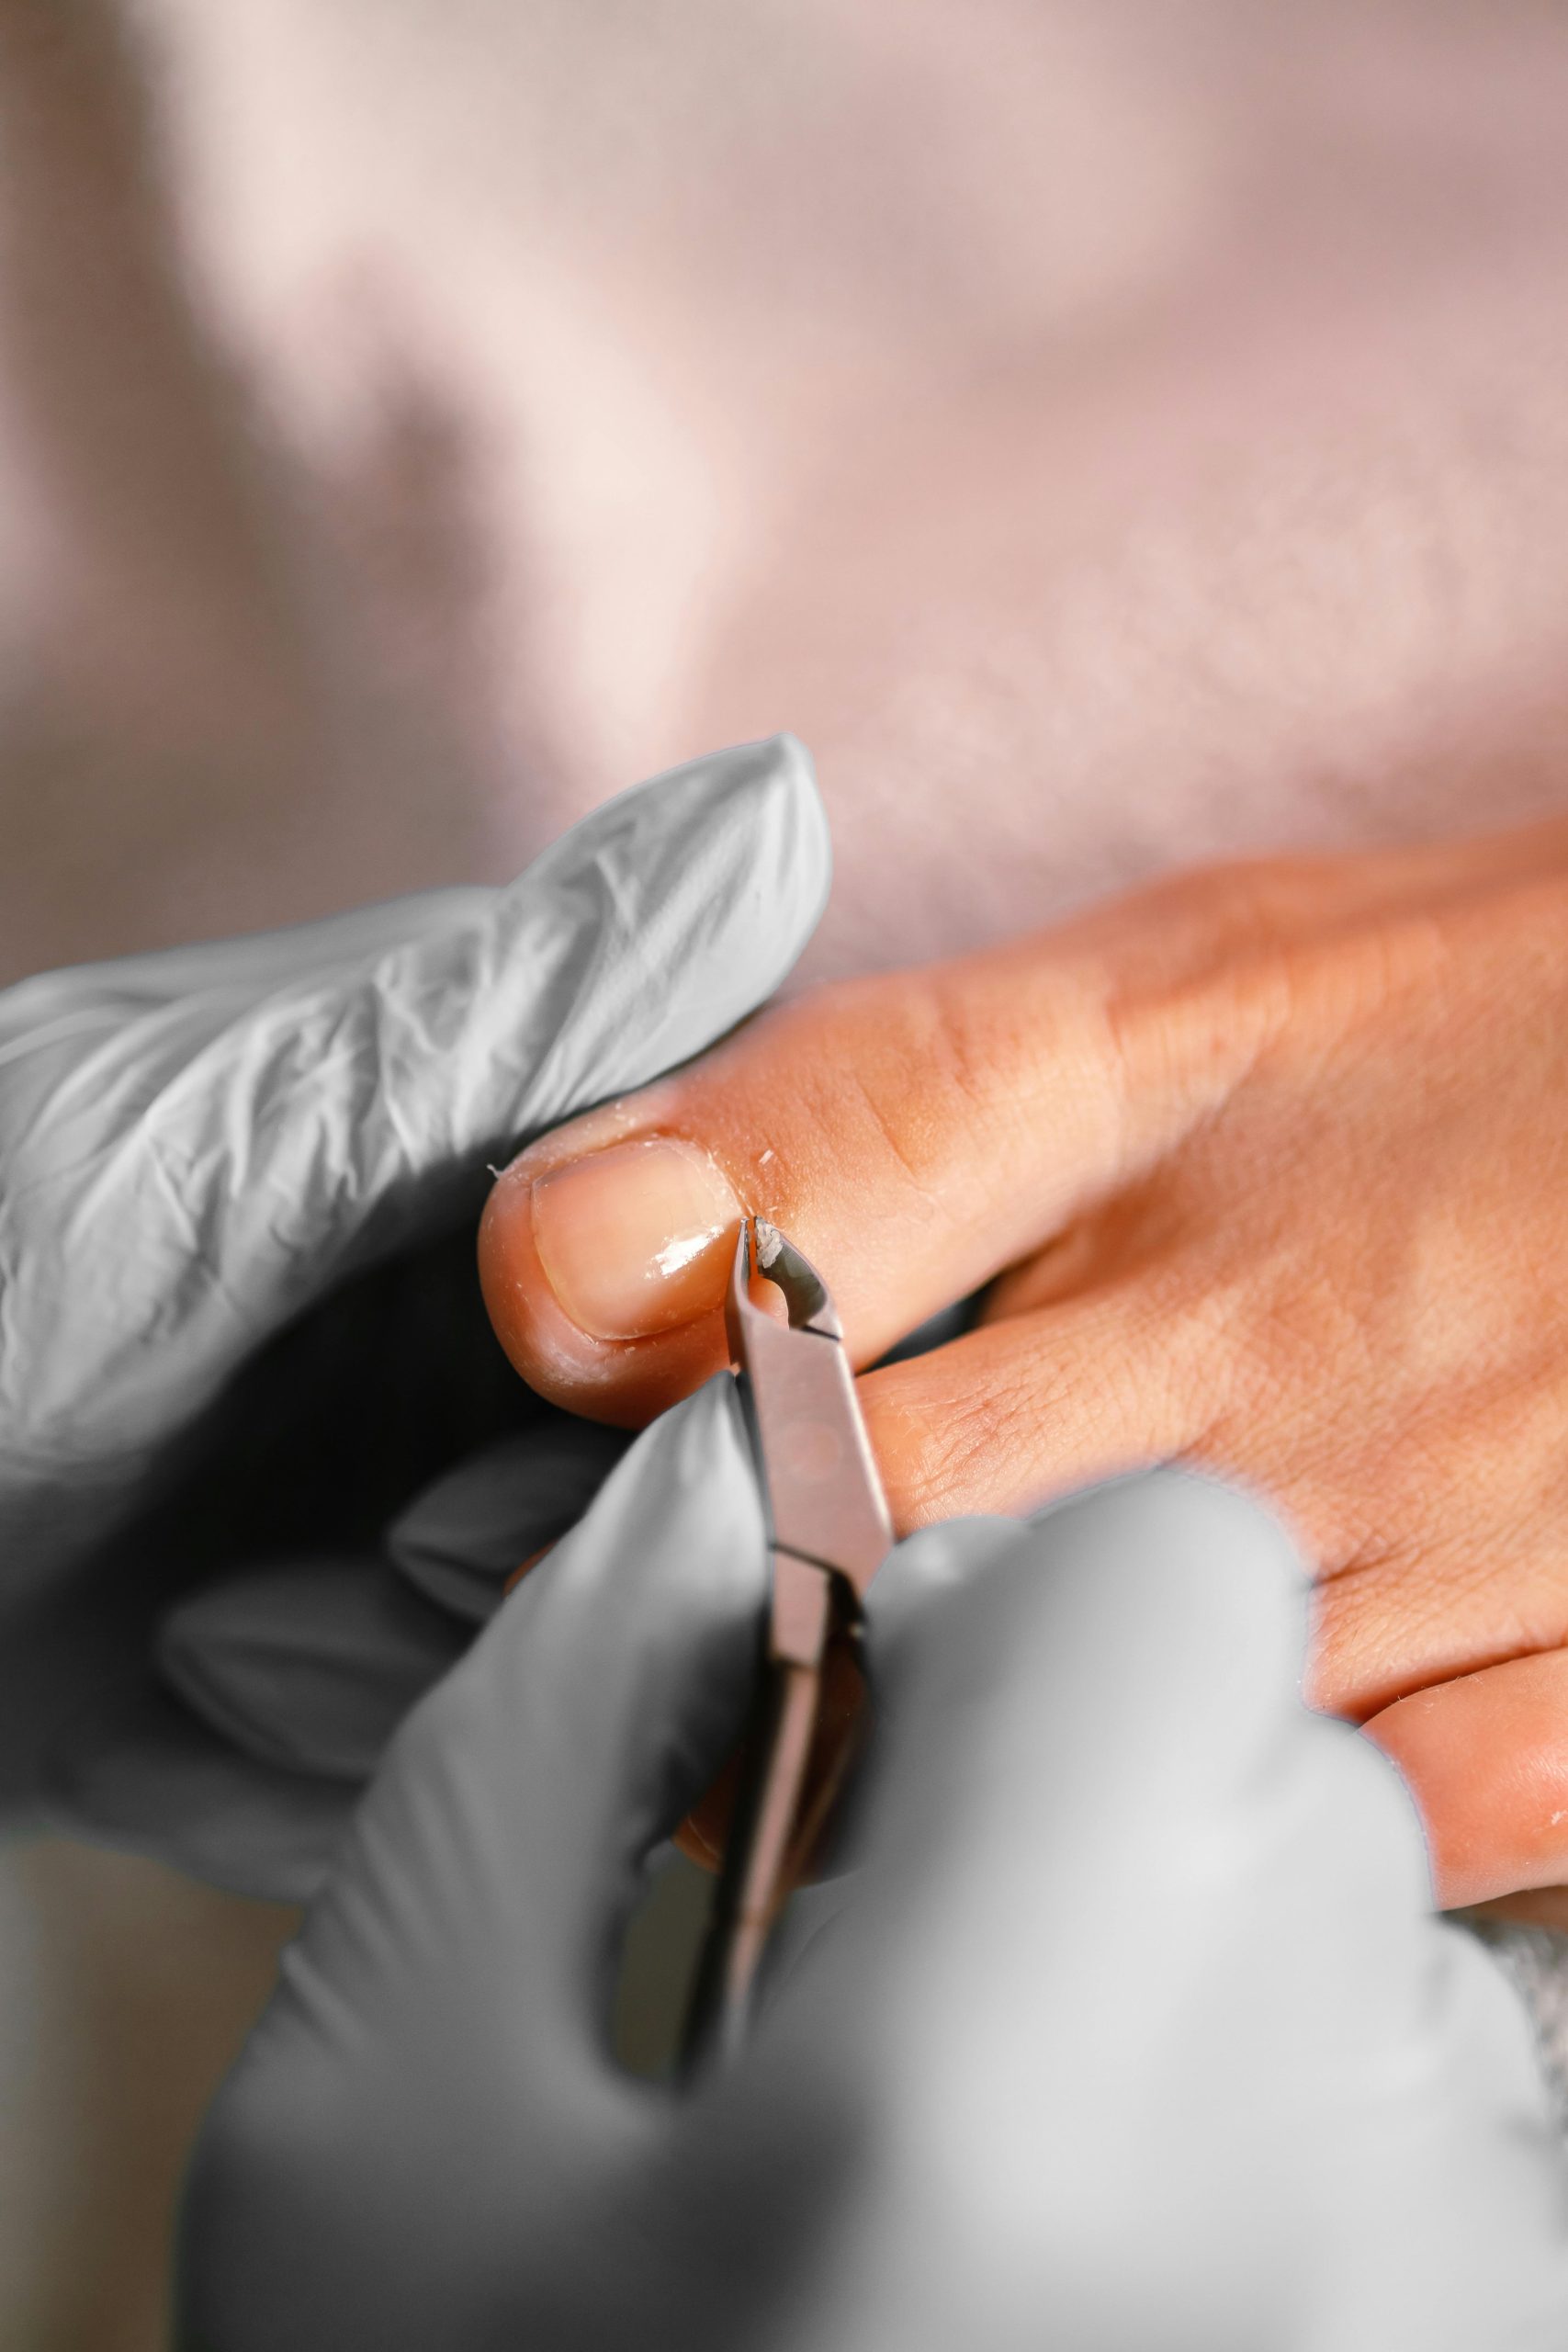
- A wooden cuticle pusher or orangewood stick. Metal tools are tempting but too aggressive on softened gel.
- A nail file and buffer. A medium-grit file (180) and a four-way buffer.
- Cuticle oil. Any brand. The job is hydration, not luxury.
- Hand cream. For the finish.
- A small towel. Acetone is rough on furniture and skin.
A bowl of warm water nearby helps too. Soaking the foil packets in warm water for the last few minutes of the wait time speeds up the process.
Step-by-Step Removal
1. File the top coat
Take the medium-grit file and break the shiny seal on each nail. You’re not trying to file off the gel, just scuff the surface so the acetone can penetrate. Light, even passes. Stop when the nail surface looks dull instead of glossy.
This is the step most people skip, and it’s why their soak takes twice as long.
2. Protect the skin around your nails
Rub a small amount of cuticle oil or thick hand cream onto the skin surrounding each nail. Acetone is a solvent and it will dry out anything it touches. A barrier of oil reduces the irritation.
Skip the nails themselves. You want the acetone to go in, not be repelled.
3. Wrap each finger
Saturate a piece of cotton with acetone, press it firmly against the nail, and wrap the finger in foil so the cotton stays in contact. Tight enough to hold, not tight enough to hurt.
Do five fingers on one hand first, then move to the second hand. Trying to wrap all ten at once with no working fingers is a comedy of errors.
4. Wait. Then wait a little longer.
Let the wraps sit for 15 minutes. Set a timer. Watching the clock makes it feel longer than it is.
If your gel was applied recently or is unusually thick, plan on 20 minutes. The temperature matters too. A cold room slows the soak down significantly. Tucking your wrapped hands under a warm towel speeds things up.
5. Test one finger
Pull the foil off your thumb. If the gel slides off with gentle pressure from the wooden pusher, you’re done soaking. If it resists, rewrap and give it another five minutes.
Do not pick. Do not pry. If the gel doesn’t release with the cuticle pusher under almost no pressure, the bond hasn’t broken yet.
6. Remove the gel one finger at a time
Unwrap one finger, push the softened gel toward the tip in slow strokes, and rewrap the next finger before the gel on it dries out and re-hardens. Acetone evaporates fast once the foil is off.
Stuck spots get a fresh cotton ball with acetone for two more minutes. Never the file. The minute you’re filing softened gel, you’re filing nail.
7. Buff and shape
Once all ten nails are clear, use the four-way buffer in light passes to smooth any residue. Trim and shape with the file. Stop the second the surface feels even. Over-buffing is one of the top causes of nail thinning.
8. Hydrate aggressively
Wash your hands with soap and water to clear the acetone, dry, and saturate every nail and cuticle with oil. Then hand cream on top. Then again an hour later. Then again before bed.
Acetone is brutally drying. The two days after a soak-off are when most damage actually happens, because dry nails are brittle nails.
What Not to Do
The fastest way to wreck a nail is to skip the soak and try to peel. A few specific behaviors are worth calling out because we see the aftermath every week at the front desk.
- Don’t peel partially soaked gel. If a corner lifts, that’s not a green light to pull. The bond is uneven, and pulling takes nail with it.
- Don’t use a metal tool on softened gel. Wood or plastic only. Metal scratches the nail plate.
- Don’t soak in a bowl of acetone. It works, but it dries out the entire fingertip and surrounding skin much worse than the foil method.
- Don’t follow a home removal with another gel polish the same day. Give the nail at least 24 hours of breathing room. Same-day reapplication is how a small amount of weakness becomes a chronic peel.
- Don’t ignore pain. Soak-offs should not hurt. Burning means too much acetone exposure on raw skin or a damaged nail. Stop, rinse, and reassess.
Aftercare for the Next Two Weeks
Removing the gel is half the job. The other half is rebuilding what acetone temporarily stripped.
- Cuticle oil twice a day. Morning and night. This is the single highest-impact habit for nail recovery. We say it constantly because it works.
- Skip polish for at least 48 hours. A clear strengthener is fine. A full color manicure can wait.
- Hand cream after every wash. Soap and water dry hands out further, and freshly removed nails are extra sensitive.
- Gloves for cleaning and dishes. Hot water and detergent will undo your hydration work in one sink load.
- Trim weekly. Newly exposed nails are softer and more prone to snagging. Keep them short until they harden up.
For more on day-to-day nail upkeep, our nail care before and after your appointment post covers the longer-term habits in detail.
When to Come In Anyway
If your at-home removal left nails feeling thin, ridged, or peeling, don’t try to fix it with another at-home product. Book a Classic Manicure and ask for a strengthening treatment. Our technicians can assess the damage, smooth the surface properly, and put you on a recovery plan.
If you’re ready for a fresh look once the natural nail is back in shape, we’ll talk you through the options. Most clients who used to live in gel polish end up moving to Aprés Gel-X® for the longer wear and gentler removal, or hard gel if they want extra strength on weak nails.